


In martial arts, tying your gi belt correctly isn’t just about appearance—it’s about preparation, focus, and respect for your art. Whether you’re practicing Brazilian Jiu-Jitsu, Karate, or Judo, having a neat and secure belt can make all the difference during training. Below are three trusted methods for tying your gi belt—each suited for different needs and preferences.
How to Tie a Gi Belt – Method 1: The Standard Wrap (Beginner-Friendly and Balanced)
This is the most common way to tie a gi belt, ideal for beginners and practiced widely in BJJ, Judo, and Karate classes. It’s clean, balanced, and easy to master.
Step 1: Fold the Belt in Half
Start by folding your belt in half to find its center. This helps ensure it even ends once the belt is tied.
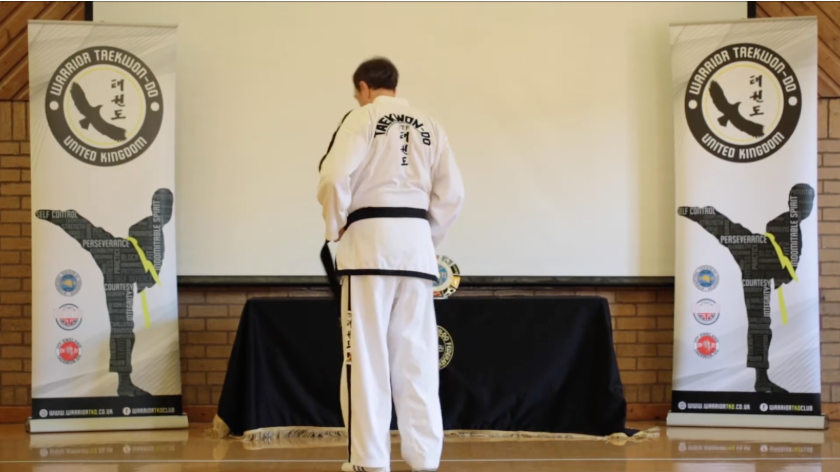
Step 2: Place the Center on the Center of Your Back
Position the center of the belt directly over your belly button.
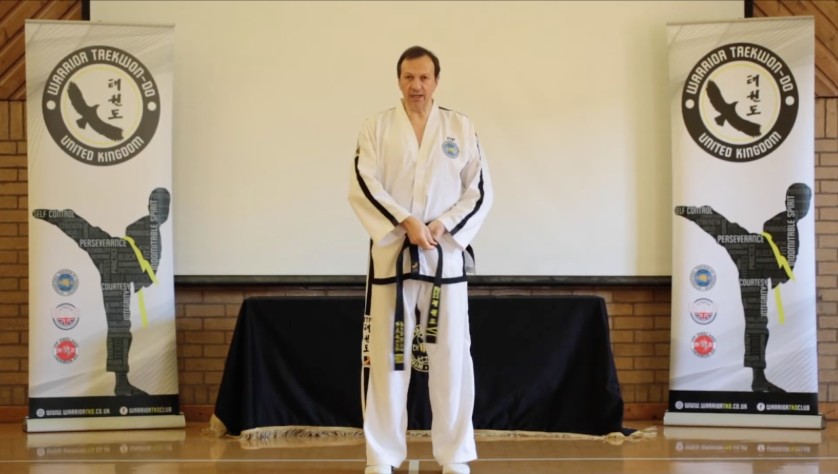
Step 3: Wrap Around Your Waist
Take each end and wrap it around your back, crossing the ends behind you. Bring both sides forward again so they meet at your front. Keep the belt flat—no twists.
Step 4: Layer One Side Over the Other
Cross the right side over the left (or left over right, depending on dojo preference), creating an “X” at the front.
Step 5: Tuck the Top End Under Both Layers
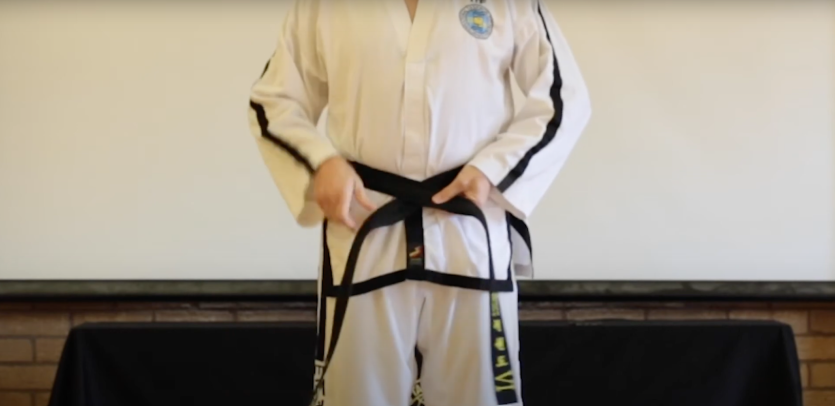
Take the top end and tuck it underneath both belt layers. Pull it all the way through from bottom to top and tighten it.
Step 6: Form the Knot
Now, take the new top end (the one you just pulled through), cross it over the lower end, and bring it back through the loop to create a square knot.
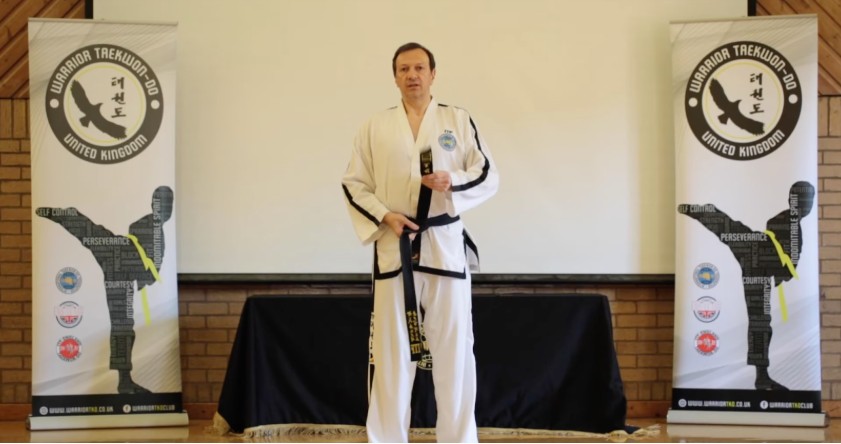
Step 7: Tighten and Adjust
Pull both ends outward firmly. The belt should feel snug and the ends should hang evenly. If one end is longer, adjust your starting point next time.
✅ Best for: Beginners who want a simple, balanced, and presentable tie.
How to Tie a Gi Belt – Method 2: The Super Lock (For Secure Hold During Sparring)
This method is popular among BJJ practitioners who want a belt that stays tight during intense rolling sessions. It introduces a locking mechanism that resists loosening.
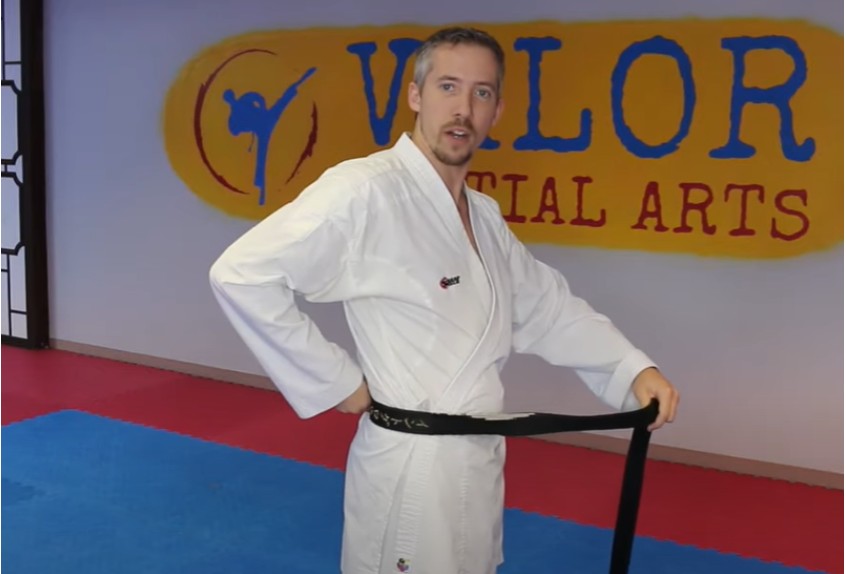
Step 1: Fold and Place the Belt
Fold the belt in half to find the center. Place the center just below your belly button.
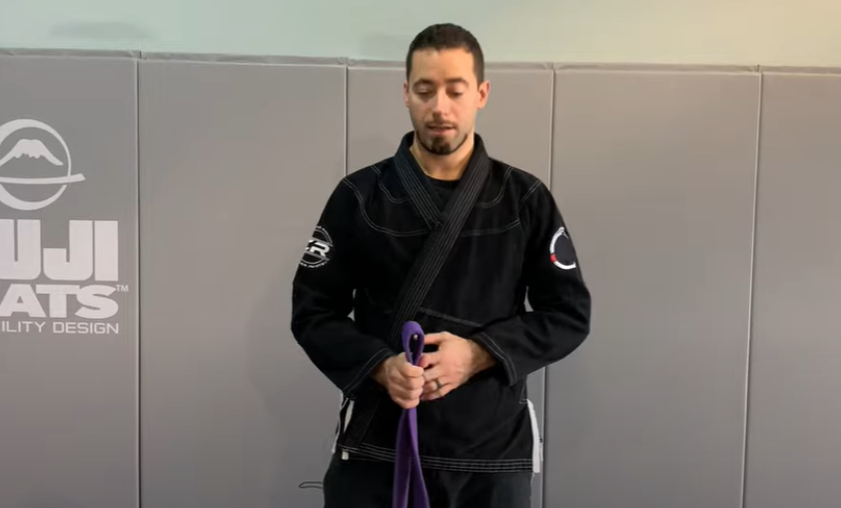
Source : Journey Brazilian Jiu Jitsu Academy
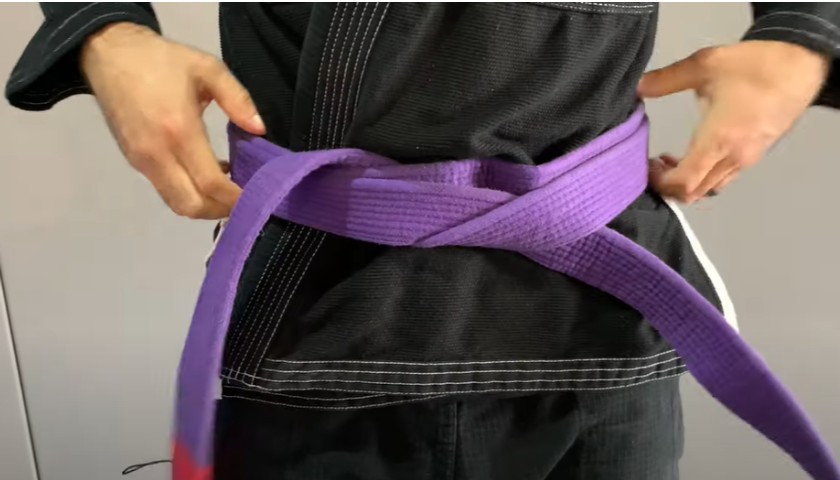
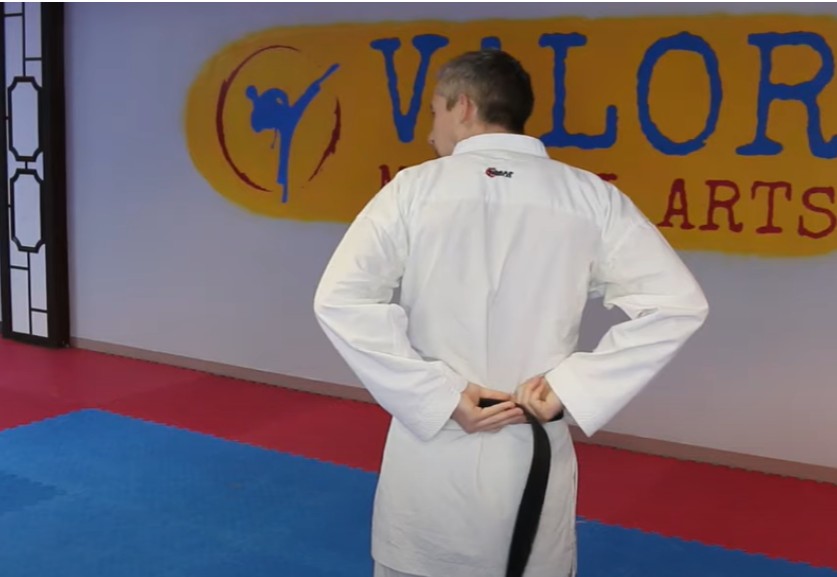
Step 2: Wrap Around Your Waist
Wrap both ends around your waist and bring them back to the front. Instead of crossing them over each other in the back, keep them flat so the belt lies smoothly in two even layers.
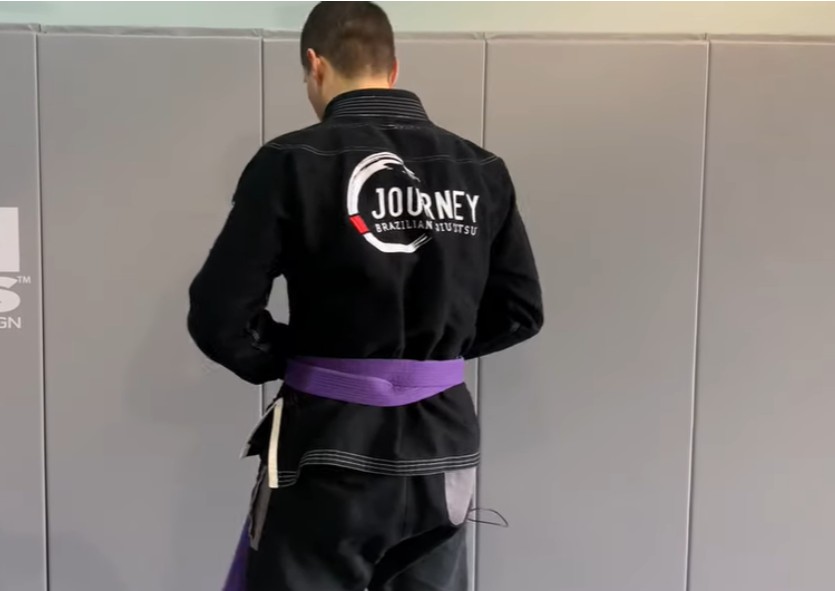
Source : Journey Brazilian Jiu Jitsu Academy
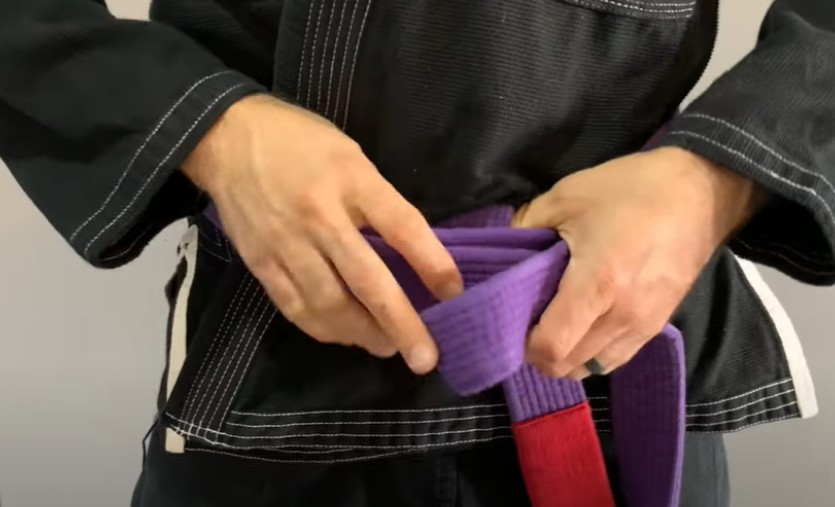
Step 3: Cross the Ends
Take the left end and lay it over the right at the front.
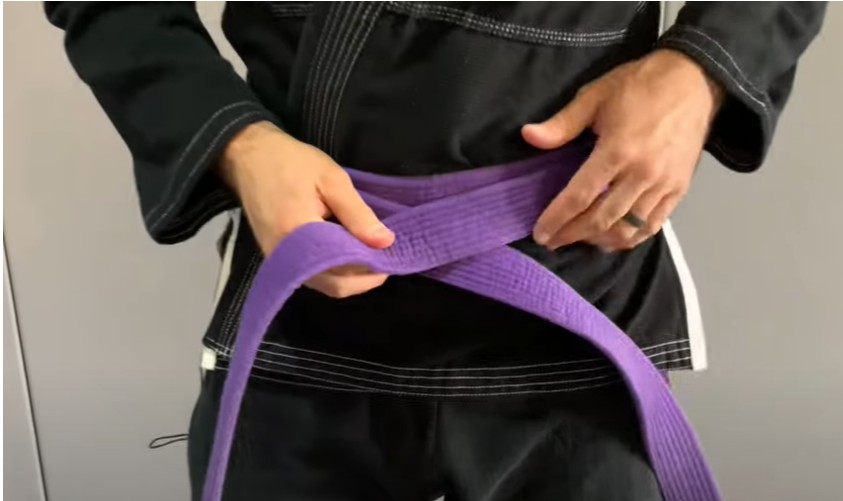
Source : Journey Brazilian Jiu Jitsu Academy
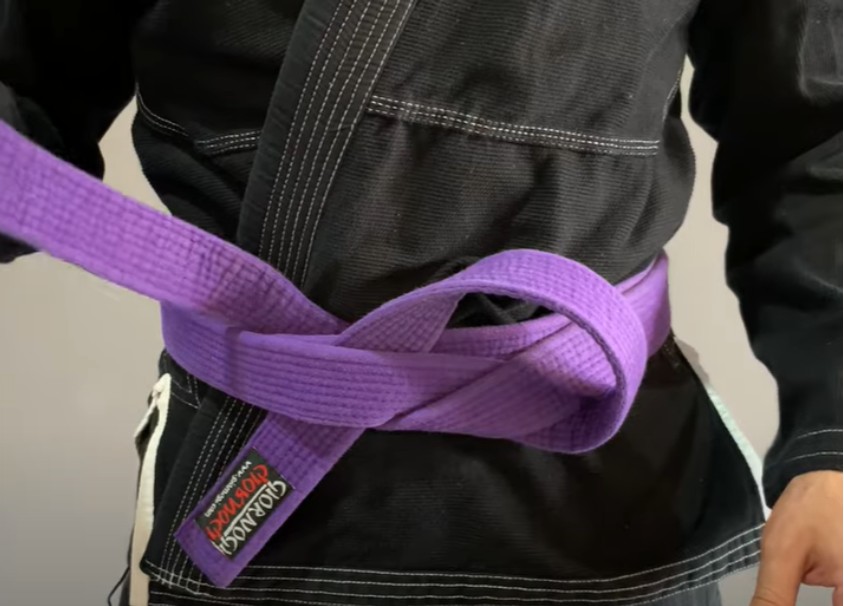
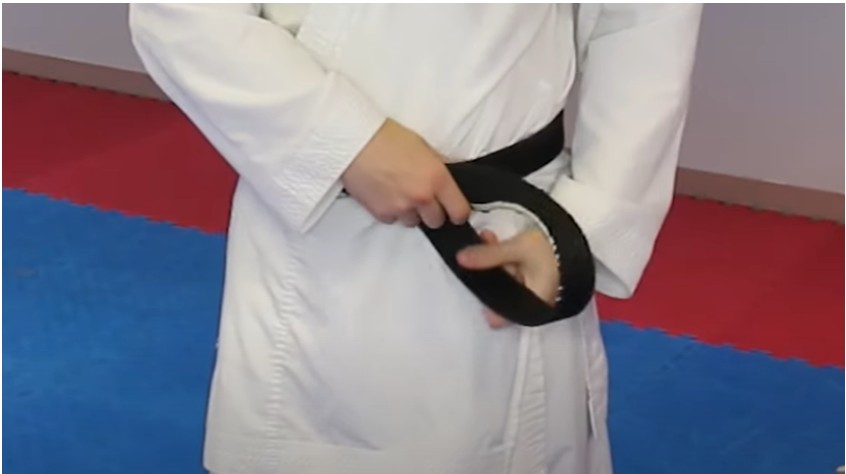
Step 4: Tuck Under Only One Layer
Now, instead of tucking the top end under both layers, slide it under just the top layer of the belt. This allows the belt to tighten without pulling the entire wrap out of place.
Source : Journey Brazilian Jiu Jitsu Academy
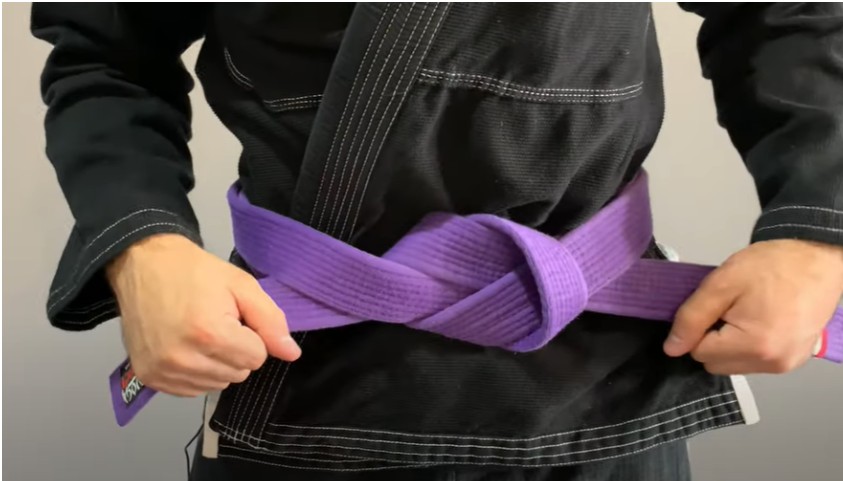
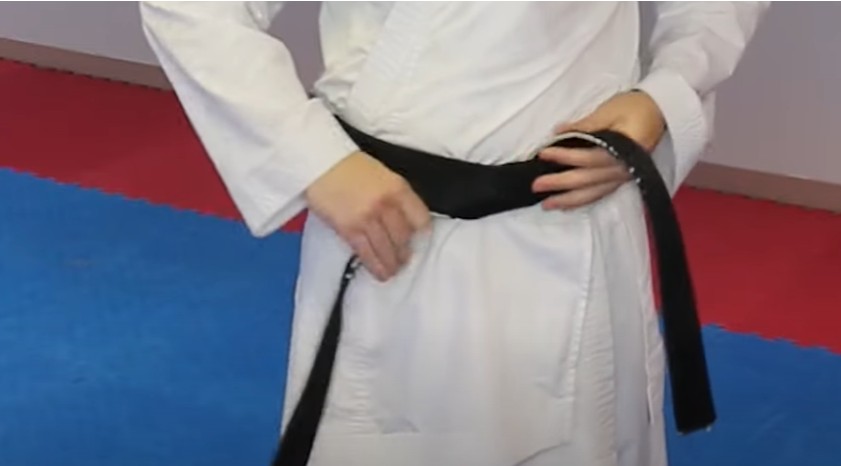
Step 5: Tighten the Belt
Pull the tucked end up tightly to lock the layers in place. The belt should feel snug already.
Source : Journey Brazilian Jiu Jitsu Academy
Step 6 : Tie the Final Knot
Take the top end again, cross it over the bottom end, and pull it back through the loop to form a square knot—just like in Method 1.
Source : Journey Brazilian Jiu Jitsu Academy
Step 7: Lock and Pop
Give it a strong pull and a slight tug to “pop” the knot in place. This locked knot will stay secure through rolls and drills.
Source : Journey Brazilian Jiu Jitsu Academy
✅ Best for: Intermediate to advanced students who want a belt that stays put during heavy training.
Also Read: How to Tie a Taekwondo Belt
How to Tie a Gi Belt – Method 3: The Traditional Karate/Judo Knot (Flat, Neat Look)
This method is often used in traditional Karate and Judo settings and is valued for how flat and symmetrical the knot sits. It’s ideal for testing, ceremonies, and formal classes.
Step 1 : Start With One Short End
Rather than folding the belt, hold one end so that about 12–14 inches hang past your left hip.
Source : Karate Playbook
Step 2 : Wrap the Long End Around Twice
Take the longer end and wrap it around your waist twice, going behind your back and returning to the front. Keep the belt flat with no overlapping or twisting.
Source : Karate Playbook
Step 3 : Tuck the Long End Under Both Layers
Bring the longer end up through both layers of the belt from bottom to top. Pull it all the way through.
Source : Karate Playbook
Step 4 : Cross and Form the Knot
Cross the long end over the shorter one, then pull it through the loop from underneath—just like tying a regular knot.
Source : Karate Playbook
Step 5 : Flatten and Adjust
Tighten the knot evenly and flatten it with your fingers. The knot should sit neatly and lie flat against your gi. Adjust the lengths if needed to make both ends even.

Source : Karate Playbook
✅ Best for: Martial artists who value aesthetics and formality—perfect for belt tests and demos.
Final Tips for All Methods
- Practice in front of a mirror to check alignment and balance.
- If the knot comes undone easily, you may be using too smooth a belt or not pulling tight enough.
- If one end is longer than the other, shift your starting position slightly off-center next time.
- Always ensure the belt lies flat against your gi jacket for comfort and a polished look.
Also Read: How Taekwondo Builds Self-control and Calmness
FAQs on How to Tie a Gi Belt
Is Brazilian Jiu-Jitsu the right martial art for me?
If you’re looking for a martial art that blends strategy, physical conditioning, and real-world effectiveness, Brazilian Jiu-Jitsu (BJJ) might be a great fit. It’s ideal for those who enjoy close-contact grappling, problem-solving on the mat, and a respectful, skill-focused training environment. Whether you’re training for fitness, self-defense, or competition, BJJ welcomes all levels.
What gear do I need to start training in Jiu-Jitsu?
To get started with BJJ, you’ll need a proper gi (uniform), which includes the jacket and pants, and a belt appropriate to your rank (usually white for beginners). Some schools may also recommend rash guards, mouthguards, and finger tape for added protection and comfort.
Which belt-tying method should I use in Jiu-Jitsu?
It depends on your experience and your goals. Beginners often prefer the Standard Wrap for its simplicity and balance. For sparring and rolling sessions, the Super Lock method is ideal because it stays tight and secure. If you’re attending a belt ceremony or formal class, the Traditional Karate/Judo Knot offers a neat, symmetrical look that stands out in presentation.
What are some common mistakes to avoid when tying a BJJ belt?
Avoid twisting the belt while wrapping, using a loose knot, or tying it unevenly—these can affect both appearance and comfort during training. Another mistake is starting from the wrong midpoint, which causes one side to hang longer than the other. Practicing in front of a mirror can help correct these issues.
How long should the belt ends (or tails) be after tying?
After tying your belt, the ends should hang evenly and reach approximately the middle of your thigh. If one side is significantly longer, adjust your starting position or the way you wrap to ensure better balance next time.
Is tying a gi belt different from tying a Jiu-Jitsu belt?
The process is largely the same across disciplines like Karate, Judo, and BJJ. However, slight variations exist depending on the martial art’s tradition and purpose. For example, BJJ practitioners often prefer methods that secure the belt tightly for sparring, while Karate may emphasize a flatter, neater appearance for formal settings.
Conclusion
Tying your gi belt correctly is a small but powerful part of martial arts practice. Whether you’re just starting out or you’re a seasoned practitioner, choosing the right method based on your training needs—clean appearance, secure fit, or traditional polish—can help you stay focused and ready.
So next time you step on the mat, take that extra moment to tie your belt with purpose. It’s not just about holding your gi together—it’s about holding yourself to a standard.